How To Repair Your Luxury Boots For Under $30 Instead Of Buying New
A scratched toe, faded sole edge, or dry-looking leather can make an expensive pair of boots look far worse than they are. That is often when people stop wearing them. Not because the boots are unusable, but because they no longer feel polished enough to keep in rotation.
In most cases, that is fixable.
If the leather is intact, the sole is secure, and the structure still feels solid, you can bring them back with a few basic supplies and about an hour of work. There is no need for a full setup or to send every scuff to a cobbler.
What you do need is the right order. Clean first, condition second, restore color third, then sharpen the finish. Worn boots stop looking neglected and start looking naturally broken in.

What You Can Fix at Home, and What Should Go to a Cobbler
Before buying supplies, it helps to decide whether the boots are actually a home repair job.
Problems That Are Usually Safe To Fix Yourself
- surface scuffs on the toe or heel
- dull or dry leather
- white salt marks from winter streets
- faded edges along the sole
- minor loose threads on decorative stitching
- light scratches around the ankle or side panels
These are mostly cosmetic problems. They look bad, but they do not usually affect the life of the boot if you deal with them early.
Problems That Need Professional Help
A home kit will not solve structural damage. Send the boots out if you see any of these:
- sole separating from the upper
- deep cracks in the leather
- holes through the upper
- heel block coming loose
- broken shank or unstable sole
- torn interior lining that affects fit
A good rule is simple. If the problem changes how the boot feels on your foot, not just how it looks, it is probably cobbler territory.
The Under-$30 Repair Kit That Actually Works
You do not need ten specialty products. A basic kit covers most repairs, and most of it lasts for months or years.
Budget repair kit
| Item |
What it does |
Typical price |
| Soft cotton cloth or microfiber cloth |
Cleaning and applying product |
$2 to $4 |
| White vinegar or gentle leather cleaner |
Removes salt, surface dirt, grime |
$2 to $8 |
| Leather conditioner |
Restores moisture and flexibility |
$8 to $10 |
| Pigmented shoe cream |
Covers scuffs and revives faded color |
$6 to $9 |
| Horsehair brush |
Buffs cream and evens the finish |
$7 to $10 |
| Edge dressing |
Restores dark color to sole edge |
$5 to $6 |
You do not need to buy every product at once if money is tight. The most important three are conditioner, shoe cream, and a cloth. But if you want the full repair to look finished, the brush and edge dressing make a noticeable difference.
Why Boots Start Looking Worn So Quickly
Boots wear down from daily hits against curbs and stairs. Salt and dust dry out the leather over time.
- Conditioner versus Polish: Conditioner prevents deep cracks, while polish only adds shine.
- The Cost: Shoe making has a big environmental footprint [1].
- The Value: Fixing boots to last ten years is better than buying new every two years.
It is a smart way for you to save money and reduce waste.
Step-by-Step Repair
This is the part that matters most. If you follow these steps in order, the work is very easy and the results will last much longer.
Step 1: Remove Surface Dirt and Salt
Start by taking the laces out. Dirt always hides around the tongue and the metal eyelets, and you will find it much easier to clean when they are out of the way. If your boots are just dusty, wipe them down with a dry cloth first, then use a damp one.
For those white winter salt marks, you need a specific mix:
- 2 tablespoons white vinegar
- 4 tablespoons water
Dip a corner of your cloth into this mix and wipe only the salty spots. Do not soak the leather; you want the cloth damp, not dripping wet. Rub in small circles until the white crust fades away.
For general grime, use a tiny amount of gentle leather cleaner on a damp cloth and wipe the full boot. Let them dry naturally for about 30 minutes. Never put them near a radiator or a hair dryer, as high heat will turn the leather into stiff cardboard.
Step 2: Condition the Leather
After cleaning, the leather often looks dull and dry. Use a pea-sized amount of conditioner on a clean cloth for each boot. Start small, as you can always add more later. Rub it into the leather using small circles, focusing on:
- The toe box.
- The flex points where the boot bends as you walk.
- The heel and ankle creases.
Wait twenty minutes for the conditioner to soak in. The leather should feel soft and look a bit richer, but it should not look oily or wet.
Step 3: Fix the Scuffs
Now, deal with the visible wear. Choose a shoe cream that matches your boot color.
- Use a thin swipe for light scuffs.
- Use two light passes for deeper marks on the toe or heel.
Once the scuffs are covered, use a horsehair brush to buff the whole boot for a minute or two. Brushing is what blends the color so it looks natural rather than like a bad paint job. Many people skip this part, but it is what makes the repair look professional.
Step 4: Darken the Sole Edge
This small detail makes the biggest visual difference. The sole edge is the strip running around the base of the boot. When it turns grey or faded, the whole pair looks old.
Use edge dressing or a matching marker to darken this strip. Be careful not to get any on the upper leather.
Step 5: Final Buff
Once everything is dry, give the boots one last quick wipe with a dry cloth. This removes any leftover product and evens out the shine. Your boots should now look well-cared for and ready for another season of work.
What This Repair Actually Costs Compared to Replacing
The math is one reason this is worth learning.
Home repair vs cobbler vs buying new
| Option |
Typical cost |
| Home repair session using existing supplies |
$3 to $6 per session |
| First-time full kit purchase |
$25 to $30 |
| Basic clean and recolor at a cobbler |
$70 to $120 |
| New pair of mid-range luxury boots |
$450 to $800 |
| New pair of higher-end designer boots |
$900 to $1,500+ |
So even if you buy the full kit upfront, you are still spending less than half of a basic cobbler visit, and far less than replacing the boots entirely.
Resale and longevity data continue to favor well-kept leather footwear over neglected pairs [2]. That is not surprising. Condition decides whether boots still feel premium after years of use.
A Real-World Repair Example
Your $650 leather boots are scuffed and dry after two winters. Instead of buying new ones, a quick fix can bring them back. Conditioner ($9), shoe cream ($7), edge dressing ($6), and a few cloths ($3) add up to just $25. That small investment makes the boots look great again, saves you $625, and keeps them in use for your real work today.
The Mistakes That Ruin Otherwise Good Boots
Bad habits kill boots fast.
Polish or Conditioner: Polish adds shine but no moisture. Dry leather needs more than just a wax layer.
Too Much Product: Thick creams attract dirt. Use a very small amount instead.
Using Heat: Never use a radiator. It makes leather stiff and dry.
Salt Stains: Salt pulls out moisture. Always wipe boots down to stop cracks from forming.
Small steps keep boots strong and sturdy.
Ongoing Care That Keeps Repairs Simple
The best repair is the one you never have to do.
Care Schedule
- Wipe after salt or rain.
- Brush dust every few weeks.
- Condition every two months.
- Fix color when it fades.
Proper Storage
- Store them upright.
- Use shoe trees.
- Keep away from heaters.
- Dry them first.
Leather needs space to breathe and stay in shape to last you for many years of hard use in your daily life today.
What to Look for When Buying Boots Next Time
If you want boots worth repairing, the decision starts in the store.
Better Construction
Look for:
- Stitched soles, not glue.
- Real, thick leather.
- Repair guides from brands.
- Strong heel structure. Industry groups push for better leather [3]. If a boot is built for repairs, it ages well.
Practical Tip
Bend the boot near the ball of the foot. If the leather looks like paper, skip it. If it feels thick and looks natural, it usually has a much better future for you.
Keeping Good Boots in Rotation
A good pair of boots does not need to look untouched to keep earning its place in your wardrobe. It just needs to look cared for.
That is the real shift. Stop treating scuffs and faded edges as the end of the line. Treat them as maintenance points. Clean the surface. Add back moisture. Restore the color. Sharpen the sole edge. Then wear the boots again.
That is how expensive footwear starts to make financial sense. You are not buying a new pair every time the toe looks rough. You are getting more life out of the pair you already paid for. In a fashion market that is slowly moving toward repair, resale, and longer use cycles [4][5], that is not old-fashioned. It is simply smart ownership.
References
[1] United Nations Environment Programme, Putting the brakes on fast fashion
https://www.unep.org/news-and-stories/story/putting-brakes-fast-fashion
[2] ThredUp, Resale Report
https://www.thredup.com/resale
[3] Leather Working Group
https://www.leatherworkinggroup.com/
[4] Ellen MacArthur Foundation, Fashion and circular design
https://ellenmacarthurfoundation.org/topics/fashion/overview
[5] McKinsey & Company, The State of Fashion
https://www.mckinsey.com/industries/retail/our-insights/the-fashion-industry-faces-a-world-in-flux
Related Posts
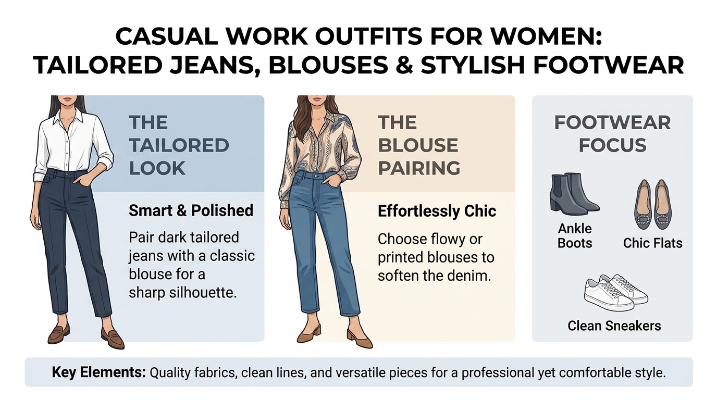
The Evolution of Casual Work Attire for Women and Modern Office Style Trends

7 Sustainable Coats That Stay Stylish Year After Year

Eco-Friendly Summer Dresses: The Best Linen, Cotton, And TENCEL Picks
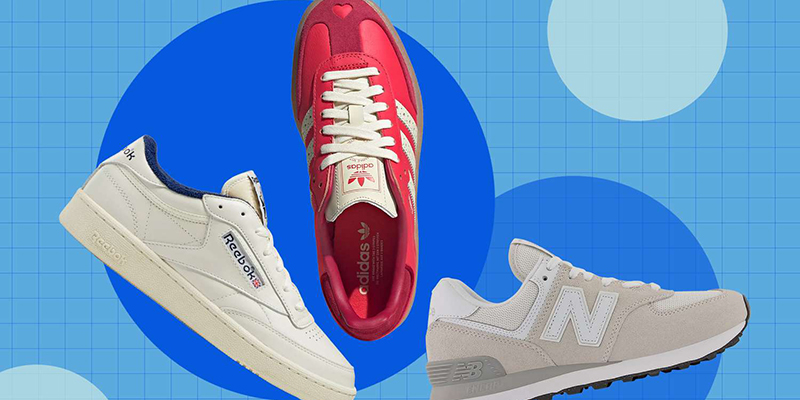
7 Sustainable Sneakers You’Ll Want To Wear On Repeat
10 Ways to Build a Zero Waste Skincare Routine That Actually Works